
The ecommerce business is booming. Established retailers and first-time entrepreneurs alike are launching on-line shops to create new income streams and attain clients past their native markets.
That stated, beginning a website from scratch—selecting a platform, importing merchandise, and establishing funds—can really feel intimidating if you happen to’ve by no means completed it earlier than.
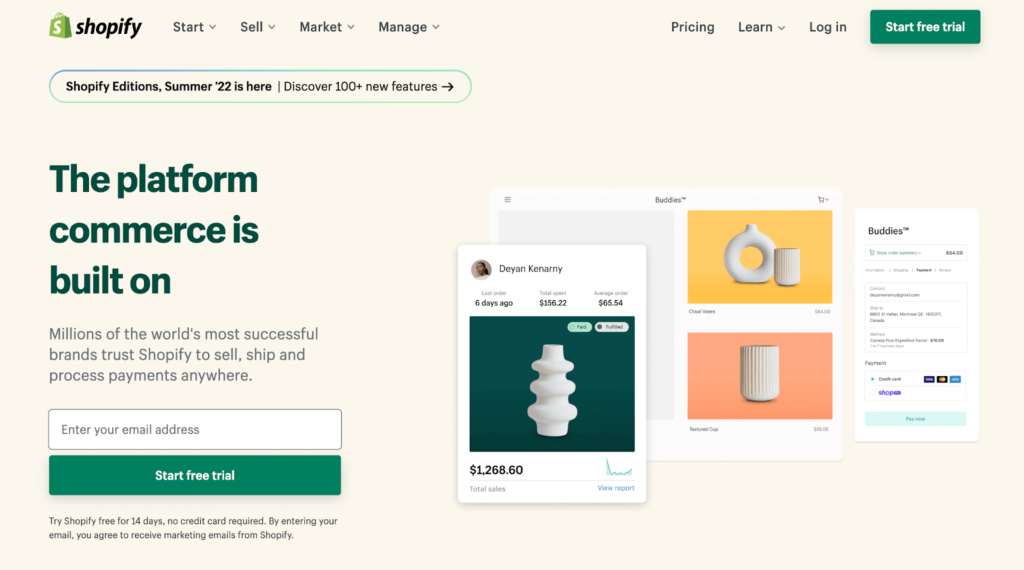
Luckily, Shopify makes it simple to launch knowledgeable ecommerce web site with out prior expertise or technical abilities.
Use this step-by-step information to go from zero to reside retailer. Observe alongside and you’ll have a cultured Shopify website able to promote in underneath half-hour.
6 Steps to Construct a Shopify Web site
Constructing a Shopify web site is straightforward while you observe these steps:
- Get Organized
- Signal Up For Shopify
- Design Your Shopify Website
- Construct Out Your Pages and Arrange the Navigation
- Add Merchandise
- Join Your Area
The Simple Elements of Constructing a Shopify Web site
Most individuals are stunned by how shortly they’ll spin up a Shopify website.
As an all-in-one platform, Shopify consists of internet hosting, safety (together with free SSL), checkout, stock, analytics, and numerous integrations. You don’t want to rent a developer or study to code to get a quick, safe storefront reside.
Shopify additionally presents area registration and built-in internet hosting, so that you received’t want separate suppliers for every bit.
Getting began is so simple as creating an account, naming your retailer, and selecting a theme that’s already optimized for ecommerce.
Different beginner-friendly platforms can work at first, however many shops outgrow them and need to migrate later.
That’s not the case with Shopify.
Shopify is constructed to scale. There’s even an enterprise choice—Shopify Plus—for high-volume manufacturers. You’ll be able to confidently begin on Shopify and develop with out switching platforms.
Accepting funds is straightforward with Shopify Funds (the built-in processor). Want a special supplier? No downside—Shopify helps lots of of fee gateways throughout international locations and areas.
With plans beginning at $39 per thirty days, it’s a superb worth for the options you get.
The Troublesome Elements of Constructing a Shopify Web site
Launching the positioning is the simple half—attracting clients and producing constant gross sales takes extra work.
Ecommerce is aggressive. You’ll cope with area of interest rivals and massive marketplaces like Amazon and Walmart. New shops, particularly, want time to earn natural site visitors. Plan for website positioning from the beginning and contemplate early paid campaigns to jump-start site visitors.
Profitable manufacturers differentiate with a transparent worth proposition and powerful positioning. Count on some testing on model story, artistic, pricing, and presents till you discover what resonates.
Visitors isn’t sufficient—you’ll want to convert it. Spend money on high-quality product pictures, benefit-driven descriptions, opinions and social proof, and a frictionless checkout. Seize emails/SMS, allow deserted checkout automations, and use post-purchase flows to extend repeat orders.
After the sale, prioritize service and loyalty. Be able to handle suggestions, returns, exchanges, and delivery questions professionally.
For those who’re keen to place within the work, a Shopify website can turn into a significant income engine.
Step 1 – Get Organized
Shopify is constructed for ecommerce—you’re beginning a enterprise, not a private weblog. Somewhat planning up entrance prevents pricey rework later.
Put your concepts in writing. Create a easy marketing strategy, open a devoted checking account, receive an EIN, and register your online business (LLC or company) as wanted in your state.
Whereas not required to construct your website, you’ll need a number of necessities prepared throughout setup: success strategy (in-house, 3PL, dropship, or print-on-demand), delivery technique and zones, preliminary pricing, and primary model property (brand, colours, fonts, imagery).
Create a Retailer Title
Select a memorable identify in your Shopify retailer. For those who already function a retail model, you’ll doubtless use that very same identify—except you’re rebranding for ecommerce.
Shopify has a free enterprise identify generator for inspiration.
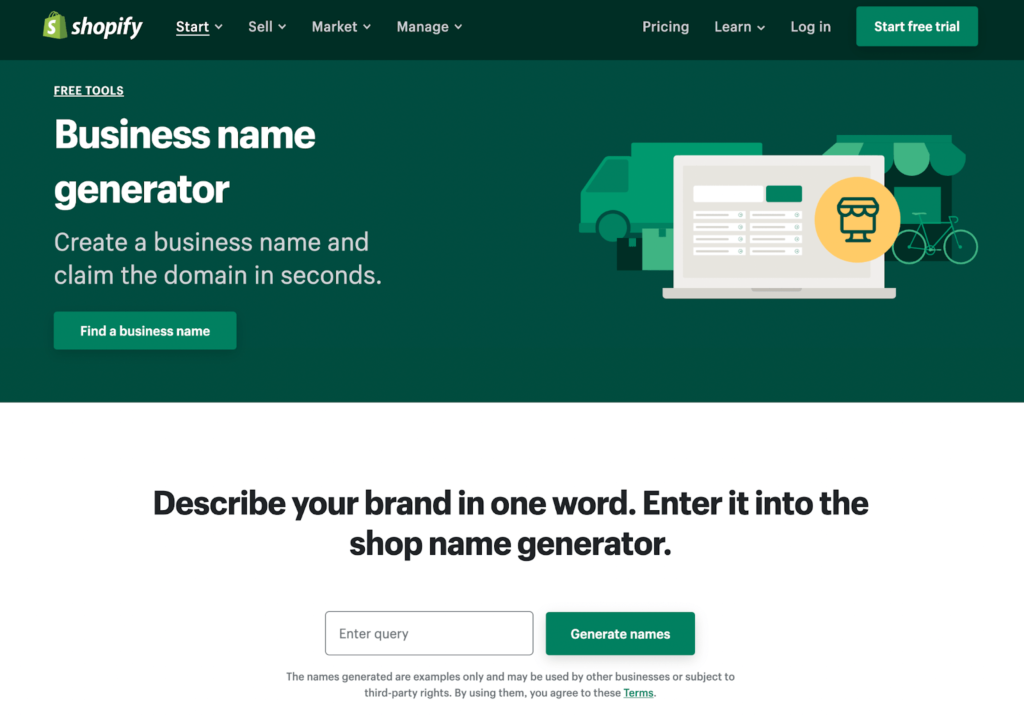
While you discover a identify you want, examine area availability and potential trademark conflicts earlier than you commit.
Resolve What You’re Going to Promote and Who You’re Promoting To
Resolve your preliminary product catalog earlier than you construct. Will you promote your individual merchandise, wholesale, dropship, or use print-on-demand? Know your suppliers, lead instances, and margins—it’ll provide help to write correct product pages and set dependable delivery expectations.
Make clear your audience. Your design decisions, copy, and pictures type ought to align with who you’re making an attempt to achieve.
Step 2 – Signal Up For Shopify
Head over to Shopify and create an account. Present an lively e mail and password to get began.
Select a Plan
There are three core plans to select from.
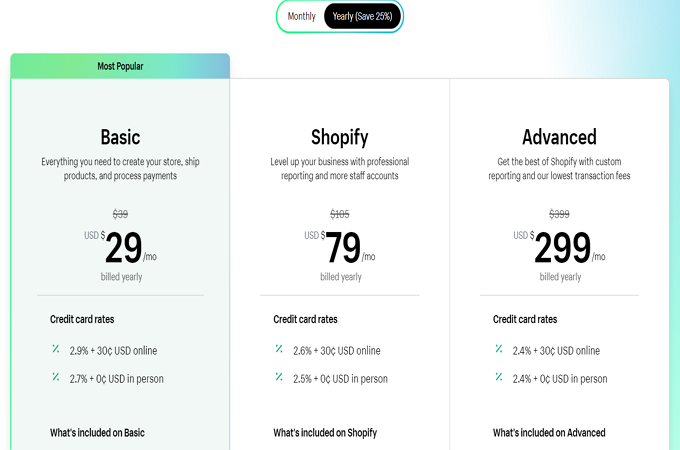
Most new shops begin with Primary. For those who’re a longtime retailer or migrating from one other platform, the Shopify plan could make extra sense.
All plans embrace every little thing you’ll want to promote on-line. Even the entry tier helps retail gross sales with POS integrations. Stepping up provides extra workers accounts, higher studies, ecommerce automation, delivery reductions, and decrease Shopify Funds charges.
Unsure which plan to decide on? Begin a three-day free trial and decide your plan when you’re prepared.
Observe the Setup Wizard
After sign-up, Shopify’s onboarding wizard asks a number of fast inquiries to tailor your setup.
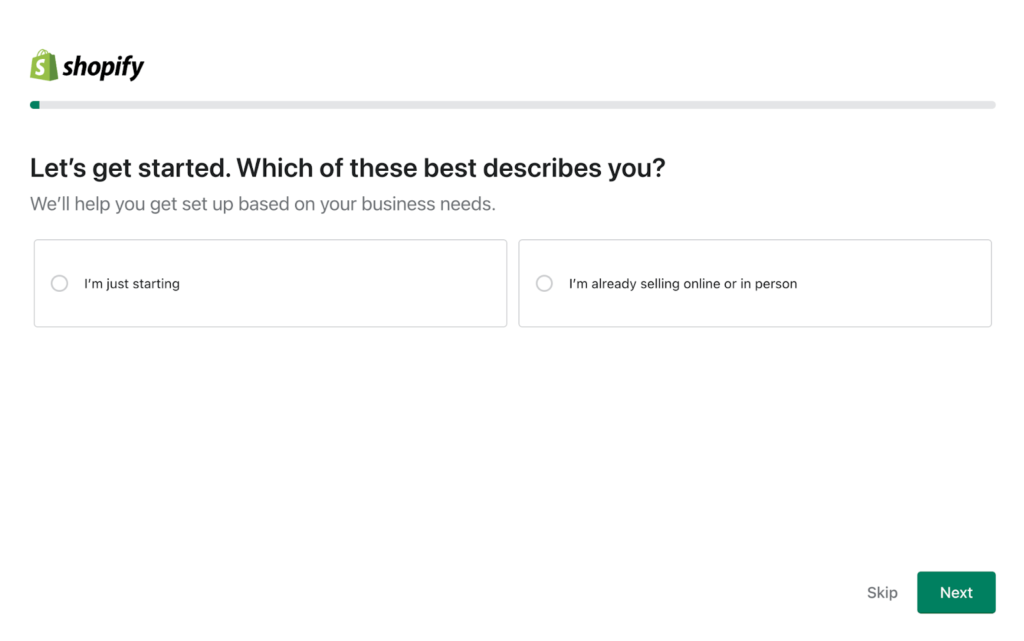
It’ll ask whether or not you’re brand-new or already promoting elsewhere.
Different setup questions embrace:
- The place do you need to promote? (on-line retailer, in particular person, social channels, marketplaces)
- Are you planning to make use of dropshipping?
- The place is your online business positioned?
You’ll be able to skip the wizard, however it normally speeds issues up and helps you configure the proper defaults.
Step 3 – Design Your Shopify Website
Now deal with design. No design background required—Shopify’s theme editor permits you to customise every little thing with a visible, drag-and-drop interface.
Choose a Theme
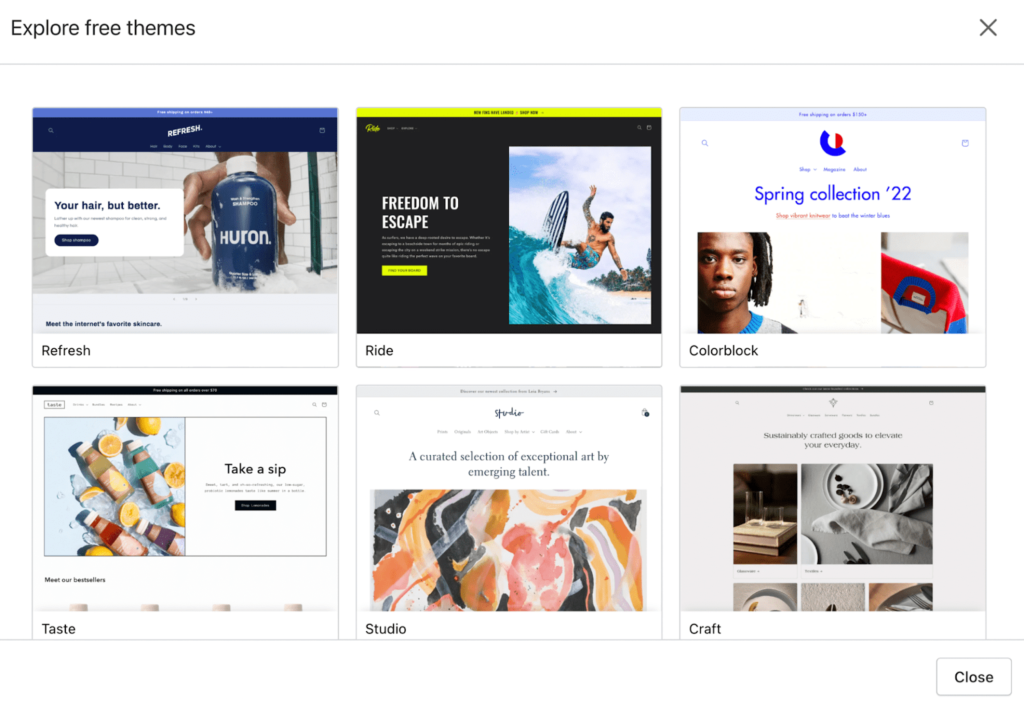
Shopify presents a variety of free and paid themes to select from.
Go to On-line Retailer ? Themes. Within the Theme Library, browse free choices or discover premium themes within the Theme Retailer.
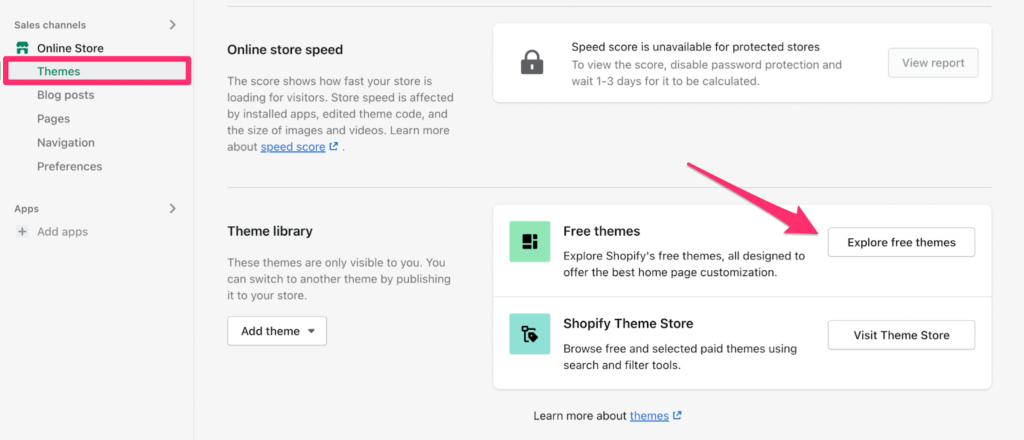
On a decent funds? Free themes are glorious and convert properly. Guests received’t know (or care) whether or not your theme was free or paid.
Browse till you discover a design that matches your model and product catalog. Prioritize clear navigation, quick load instances, and powerful product web page layouts.
You’ll be able to swap themes later, however it’s simpler to stay with one by setup. Take a number of further minutes to choose a theme you’re assured in.
Add Model Belongings
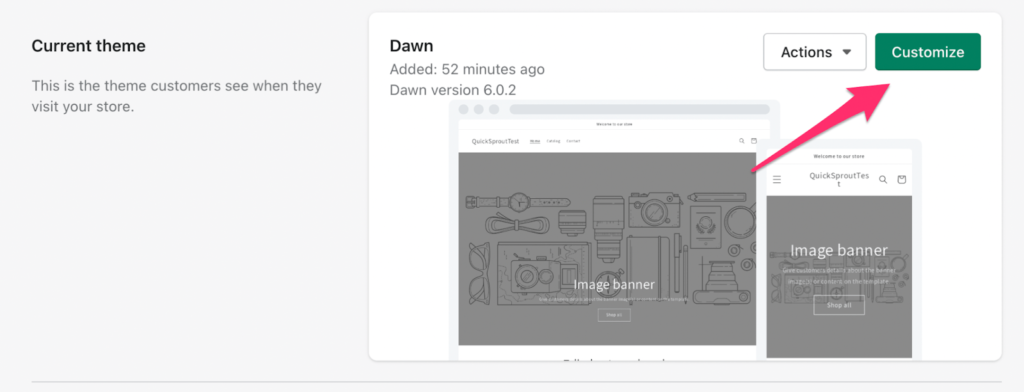
Use the theme as a place to begin. Customise colours, typography, header/footer, and part blocks. Add your brand and model imagery, set your favicon, and add alt textual content to key photographs for accessibility and website positioning.
Click on Customise to open the editor and preview adjustments in actual time on desktop and cell.
As you finalize types, maintain readability and distinction in thoughts to enhance conversions and accessibility.
Step 4 – Construct Out Your Pages and Arrange the Navigation
Past the homepage, create the core pages your retailer wants.
In On-line Retailer ? Pages, click on Add web page to create them.
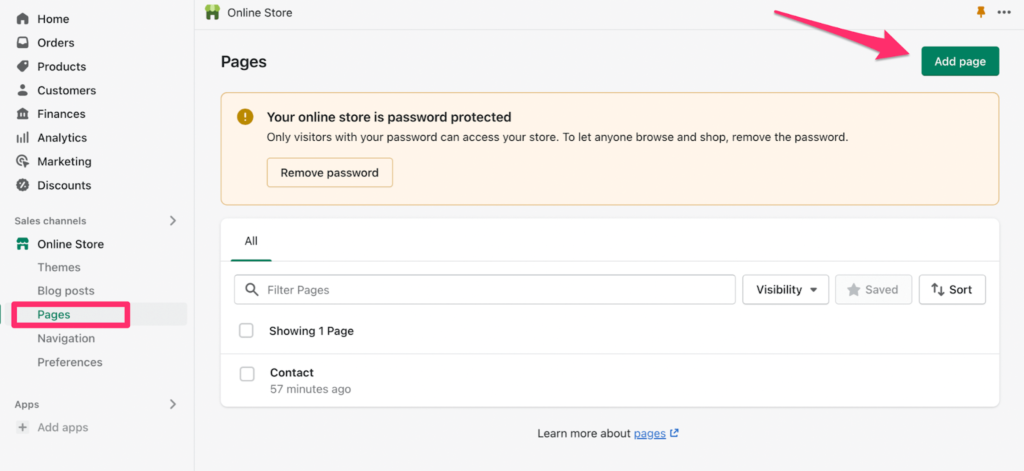
In case your retailer is presently password-protected, that’s anticipated throughout setup. We’ll take away it proper earlier than launch.
Don’t fear about perfection—get the necessities reside first, then iterate.
Touchdown Pages
Each ecommerce website ought to have these pages:
- Residence web page
- About Us
- Contact Us
- Product Pages
- Blogs
- FAQ
- Insurance policies (Delivery, Returns, Privateness, Phrases)
- Assortment Pages (for class searching)
Preserve it easy. You’ll be able to all the time add extra later. Right here’s a primary contact web page instance with a built-in type:
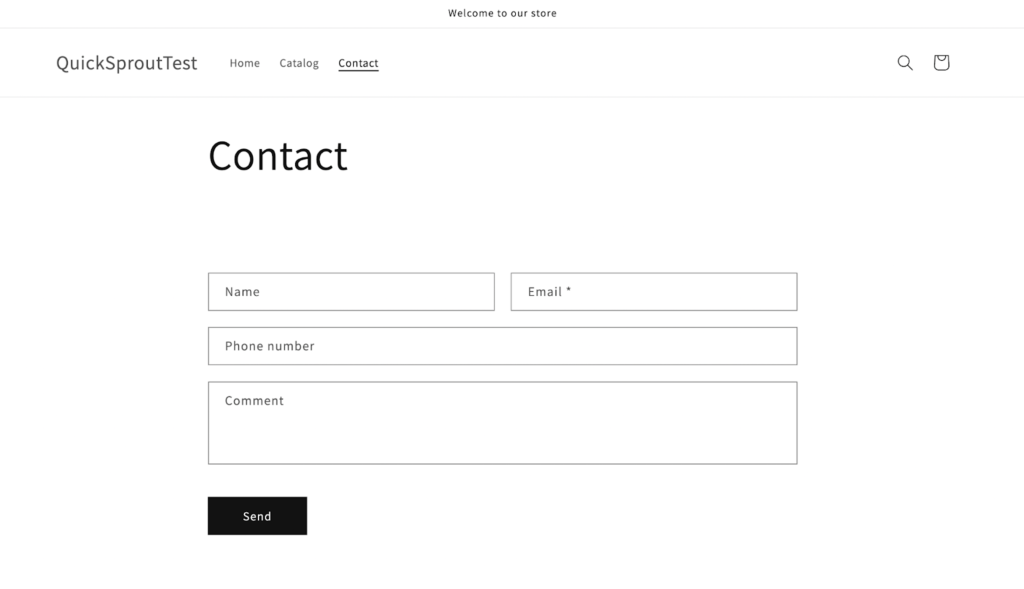
This provides clients a straightforward approach to attain you with questions or help requests.
Navigation
Customise your essential menu so consumers can shortly transfer between key pages and collections.
In On-line Retailer ? Navigation, edit your essential and footer menus.
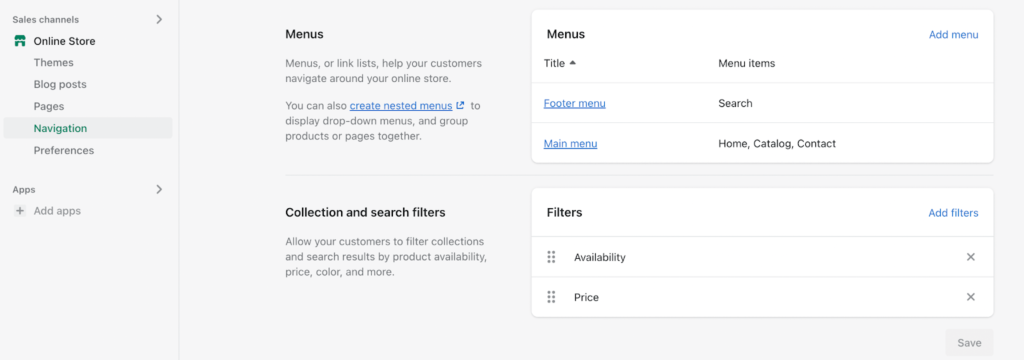
Create nested menus, hyperlink to collections, and allow search so guests can discover merchandise quick. Preserve labels quick and intuitive.
Step 5 – Add Merchandise
Merchandise are the guts of your retailer. Listed below are sensible methods to get them reside shortly and arranged properly.
Including a Single Product
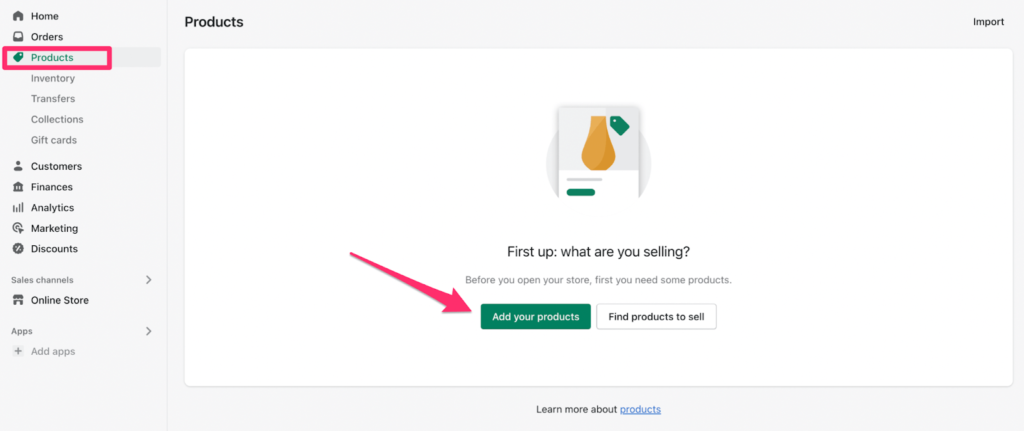
Beginning with just some objects? Add them manually one by one.
Go to Merchandise and click on Add your merchandise to start.
Fill within the particulars for every merchandise, together with:
- Product identify
- Product description (advantages, supplies, sizing, care, what’s included)
- Product photographs (add alt textual content)
- Standing (lively or draft)
- Pricing (compare-at worth if on sale)
- SKU / Barcode
- Variants (sizes, colours) and choices
- Stock monitoring and places
- Delivery data (weight, HS codes if wanted)
Use the search engine itemizing preview to set a transparent website positioning title and meta description. Sturdy, benefit-led copy improves each rankings and conversions.
Making a Product Assortment
Collections group comparable objects so clients can browse by class.
Examples embrace:
- Males’s shirts
- Ladies’s equipment
- Bedding
- Footwear
- Activewear
- Coats and jackets
Create collections manually (hand-pick objects) or routinely (set guidelines).
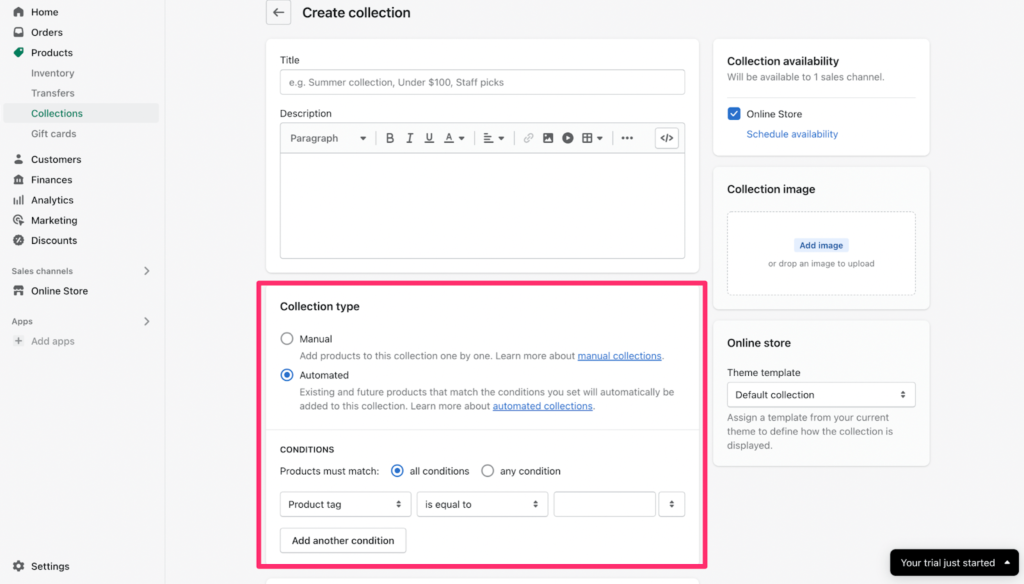
Automated collections save time. Set circumstances by worth, product kind, vendor, stock, or tags so new merchandise are grouped routinely.
For those who’re itemizing greater than a handful of things, collections are important for a clear purchasing expertise and higher website positioning.
Bulk Import through CSV
Including many merchandise? Use a CSV import to add titles, descriptions, costs, photographs, variants, and stock in a single go. In Merchandise, click on Import to obtain the template, populate it, and add. That is the quickest approach to launch a bigger catalog.
Step 6 – Join Your Area
New Shopify shops begin on a subdomain. Earlier than going reside, join your individual area for knowledgeable model presence.
For this tutorial, the instance is quicksprouttest.myshopify.com—which isn’t what you need clients to see.
Purchase a brand new area or join one you already personal earlier than launch.
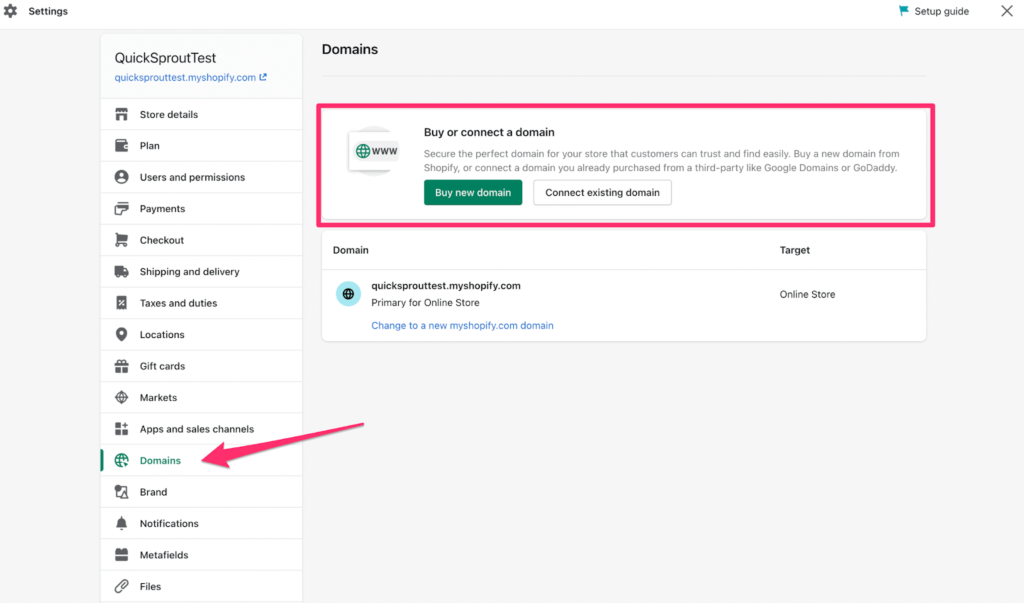
For those who don’t have a site but, buying by Shopify is the only path and auto-configures DNS and SSL.
For those who plan to handle a number of domains long-term, you may want shopping for from a site registrar after which connecting it to Shopify.
Go Dwell
As soon as your area is linked, you’re able to launch. If password safety is enabled, take away it in Preferences proper earlier than you go reside.
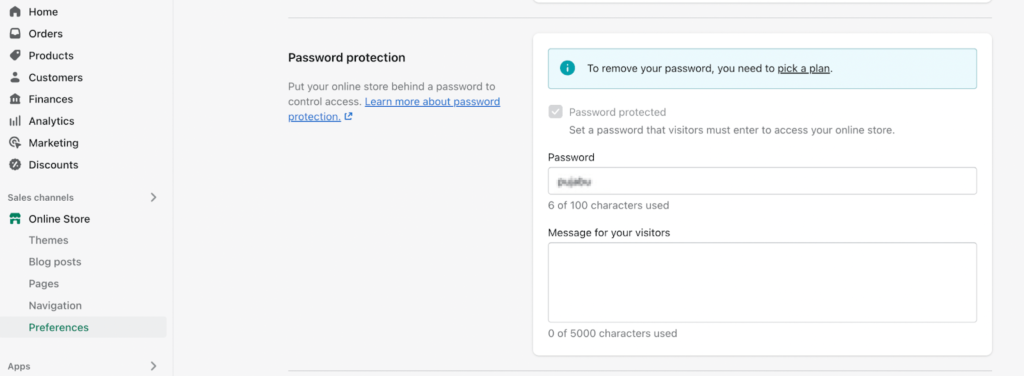
You’ll be able to’t take away password safety whereas on a free trial. Ensure that to decide a plan first.
Earlier than launch, run a fast guidelines: allow your fee supplier and place a check order, set delivery charges and zones, add tax settings, publish coverage pages (refund, privateness, phrases), activate deserted checkout emails, and confirm that your analytics and pixels are monitoring. Then announce your retailer and begin promoting.